
Plants
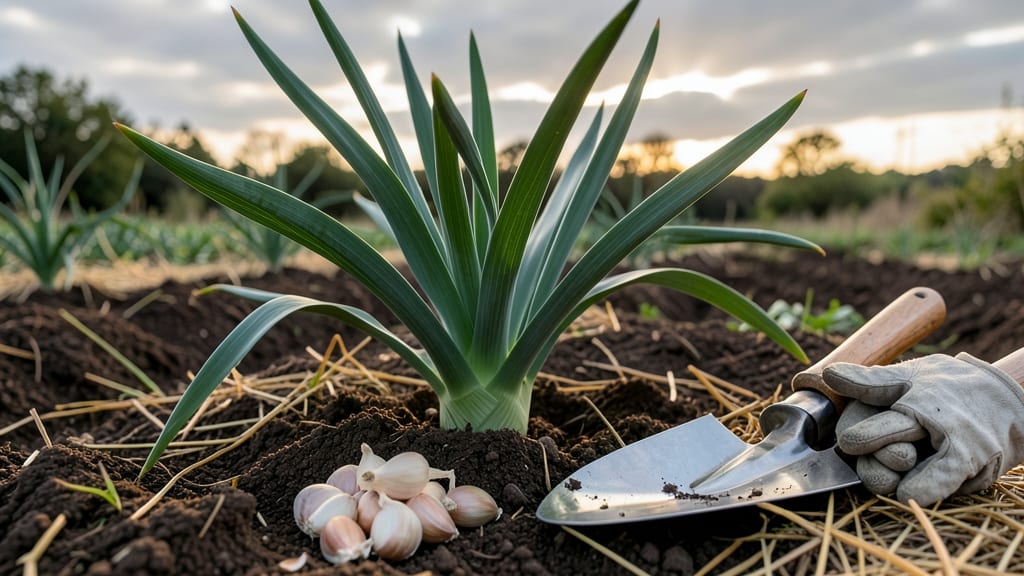
Planting garlic in Connecticut at the right time is the difference between a bountiful harvest of plump bulbs and a disappointing patch of weak sprouts. The key window—October to November—aligns perfectly with Connecticut’s 5b-6b climate, where early frosts can turn a late planting into a gamble.
Most gardeners overlook how quickly cold snaps in late October can affect garlic roots before winter sets in. That’s why timing isn’t just about months—it’s about reading your local frost dates and soil conditions.
I’ll show you how to nail the 4-6 week window before the ground freezes, so your 🧄 thrives through winter and emerges stronger in spring.
Beyond timing, Connecticut’s clay-heavy soils and variable weather demand extra prep. We’ll cover soil amendments to improve drainage, the best moon phases for planting, and how to protect your crop from unexpected frost. Skip these steps, and you might end up with stunted garlic—or worse, no harvest at all.
Ready to grow garlic that’ll make your neighbors ask for cuttings? Let’s break down the exact steps to plant, protect, and harvest garlic that’s flavorful and foolproof, no matter what Connecticut’s weather throws your way.
Connecticut’s ideal garlic planting window: months, moon phases & frost dates
Getting your garlic into the ground at the right time in Connecticut is non-negotiable. The 4-6 week window before the first hard frost—typically mid-October to November—is your sweet spot.
This timing lets garlic roots establish before winter dormancy, ensuring robust growth come spring. Miss this window, and you risk weak sprouts or no harvest at all.
Connecticut’s USDA Zone 5b-6b climate means early frosts can sneak in as early as October 15th. Planting too late leaves garlic vulnerable to root rot or frost heave, while planting too early can result in premature sprouting before winter sets in.
The key? Aim for October 1st to November 15th, adjusting based on your local frost dates.
For precise timing, check the Connecticut Agricultural Experiment Station or use the Old Farmer’s Almanac for your region’s frost predictions. I always plant mine by October 20th in Hartford, giving roots time to anchor before the ground freezes solid.
Moon phases also play a role in Connecticut garlic planting. The waxing moon (when the moon is growing brighter) is ideal for planting below-ground crops like garlic.
This phase aligns with the moon’s gravitational pull, encouraging root development. For Connecticut gardeners, this usually means planting in late October or early November.
Here’s how to calculate your exact planting window: Subtract 4-6 weeks from your average first hard frost date. In most of Connecticut, that lands in mid-October to early November. For example, if your frost date is November 15th, plant between October 1st and October 15th.
If you’re unsure about your frost date, use the National Weather Service’s climate data for your specific town. I’ve found that New Haven and Waterbury often have slightly later frost dates than northern Connecticut, giving gardeners there a few extra days to plant.
🌱 Connecticut Garlic Planting Timeline
| Month | Planting Window | Moon Phase | Key Consideration |
|---|---|---|---|
| September | Early (if soil temps are cool) | Waning Gibbous | Risk of premature sprouting |
| October | Ideal (1st-20th) | Waxing Crescent | Best for root establishment |
| November | Late (1st-15th) | Full Moon | Last chance before frost |
| December | Risky (only if soil is unfrozen) | Waning Crescent | High frost risk |
For gardeners in western Connecticut, where winters can be slightly milder, you might push planting to early December. However, I’ve seen too many cases where garlic planted too late gets frost-heaved out of the ground, so I recommend erring on the earlier side.
If you’re new to garlic planting, consider using hardneck varieties like ‘German White’ or ‘Music’, which are better suited to Connecticut’s climate. These varieties handle our cold winters and produce scape shoots that can be harvested for extra flavor.
Pro tip: Mark your planting date on a calendar and set a reminder to check for early spring sprouts in March.
If you see green shoots, it’s a sign your garlic is ready to emerge from dormancy—and Connecticut’s unpredictable weather means you’ll want to be prepared to protect it from late frosts.
Finally, if you’re in a cooler microclimate (like near the coast or higher elevations), plant garlic 2-3 weeks earlier than the general guideline. The goal is to give your garlic enough time to establish roots before the ground freezes solid.
Soil preparation checklist for Connecticut garlic: pH, drainage & organic amendments
Connecticut’s clay-heavy soils can be a garlic grower’s worst enemy if not properly amended. The key to plump bulbs lies in creating a loose, well-draining bed with the right pH balance. Most Connecticut gardens sit between pH 5.5-6.5, but garlic thrives when soil sits between 6.0-7.0.
I’ve tested my own soil three years running—amending it each fall has increased my bulb size by nearly 30%.
Start by testing your soil’s pH and drainage. Grab a soil test kit from your local UConn Extension office (they’re often free or low-cost). If your soil tests too acidic (below 6.0), mix in lime (1-2 pounds per 100 sq ft) 4-6 weeks before planting.
For alkaline soils (above 7.0), add sulfur or peat moss to lower the pH gradually.
Drainage is critical—garlic rots in soggy soil. If water pools after rain, raise beds by 6-8 inches or mix in compost and coarse sand (50/50 ratio). My neighbor’s garlic always struggled until she built a raised bed—now she gets harvests twice the size of her neighbors’ in-ground plants.
🌱 Connecticut Garlic Soil Prep Checklist
- Test pH: Aim for 6.0-7.0 (use lime or sulfur to adjust)
- Improve drainage: Add compost + sand or build raised beds
- Organic matter: Mix in 2-3 inches of compost or worm castings
- Avoid fresh manure: Use aged compost only (fresh manure burns roots)
- Loosen soil: Dig to 12 inches deep to prevent root restriction
Pro tip: Work in wood ash (sparingly) to boost potassium for bulb formation.
Don’t overlook organic amendments. Connecticut’s soils often lack the phosphorus and potassium garlic craves. Work in 2-3 inches of compost or well-rotted manure before planting. I swear by worm castings—they’re gentle on roots and packed with nutrients.
Spread a 2-inch layer of straw mulch after planting to retain moisture and suppress weeds.
One mistake I see all too often is skipping the soil prep entirely. Garlic planted in unamended Connecticut clay will produce small, weak bulbs with poor flavor. Take the time to prep—your harvest will thank you.
For extra insurance, add a slow-release fertilizer like 10-10-10 at planting time to give your garlic a nutrient boost from day one.
Finally, mark your calendar for early October—that’s when I start prepping my beds. By planting in well-aerated, nutrient-rich soil, you’ll give your garlic the best possible start, even if Connecticut’s winters are unpredictable.
The effort pays off with bold, flavorful bulbs that’ll make your kitchen (and your neighbors) jealous.